Read the puzzle, then make your move.
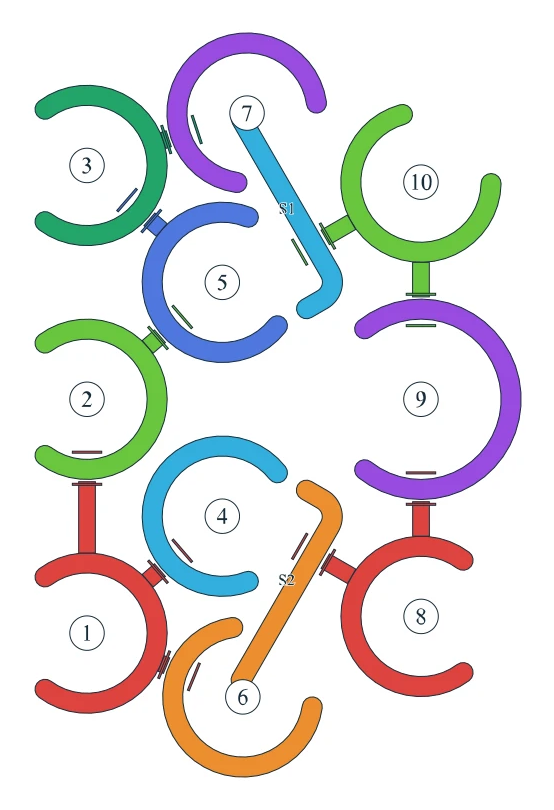
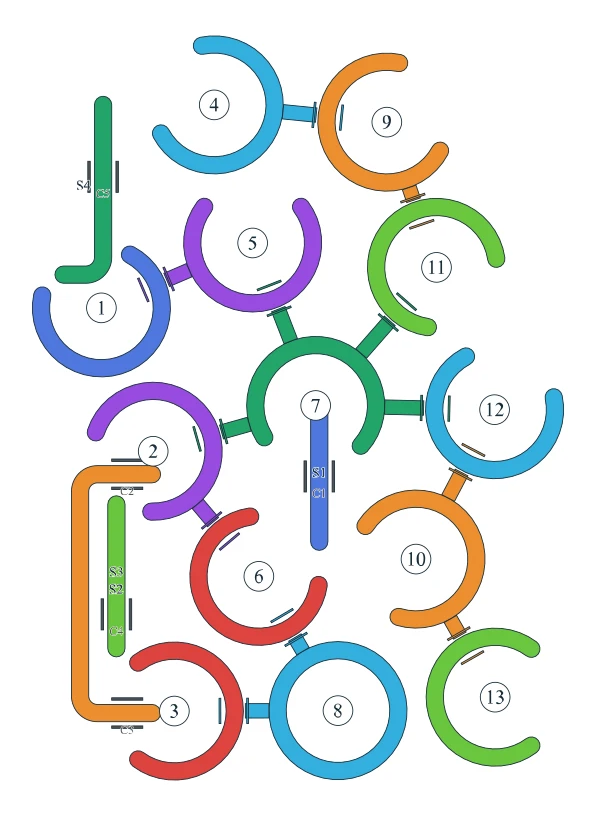
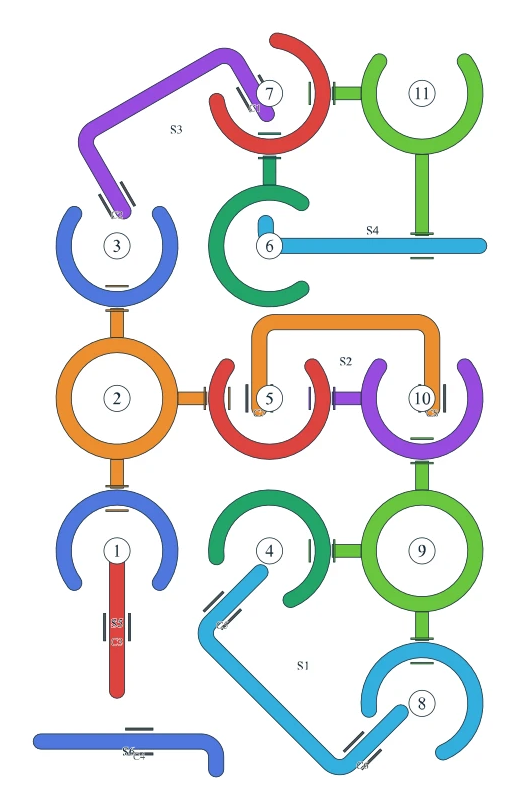
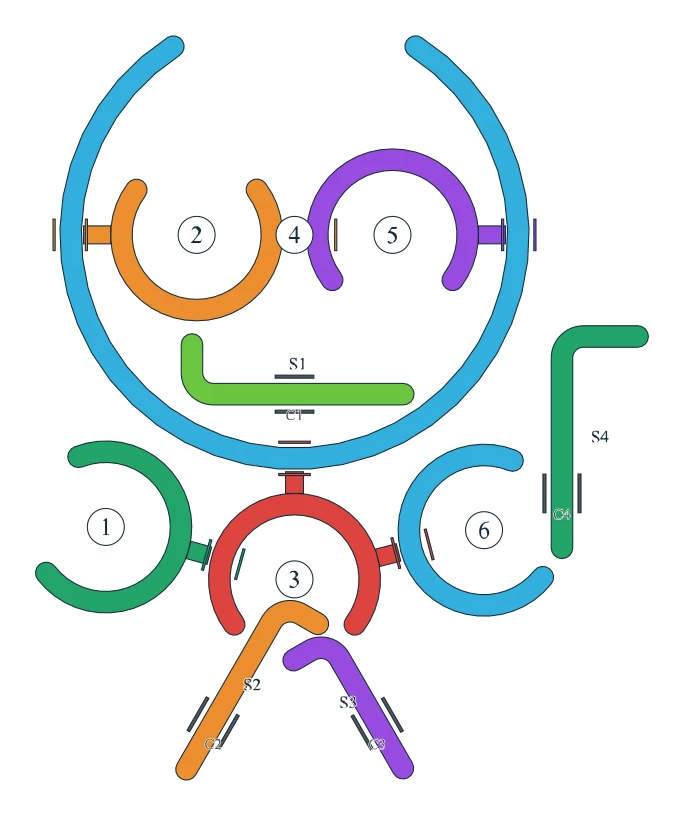
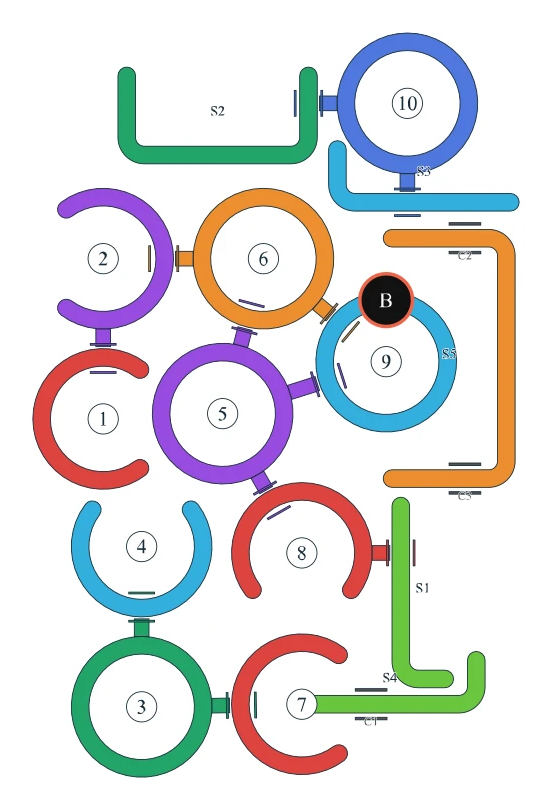
The A-layout for level 19 has 10 rings, 11 connecting pins, 5 sliding bars, 1 bombs. The unbroken loops are R3, R5, R6, R9, R10. Open their surrounding connections instead of searching for a gap.
Opening moves only · unfinished source route
These notes are independently worded from the reference diagram and candidate actions. They are not a confirmed complete mobile solution.
- 01
Shift S4 right along the guide rail. Look for S4 to clear.
- 02
Turn R7 clockwise; aim the opening lower left. Look for R7 to clear.
- 03
Shift S1 down along the guide rail.
- 04
Shift S1 down along the guide rail. Look for S1 to clear.
- 05
Turn R8 clockwise; aim the opening upper left. Look for R8 to clear.
Pause if a piece behaves differently. The numbered objects in this diagram may not match those in the video. Diagram reference ↗